I love little tricks in weaving, especially if they help me to avoid tying knots for fringe. I don't know, but I would much rather take the time weaving in ends and perfecting the surface of the cloth, not tying knots.
The Italian Hemstitch is one of the solutions that I have learned to create a beautiful hem without worrying about the fabric unravelling and also avoiding tying knots.
Here is how to do it!
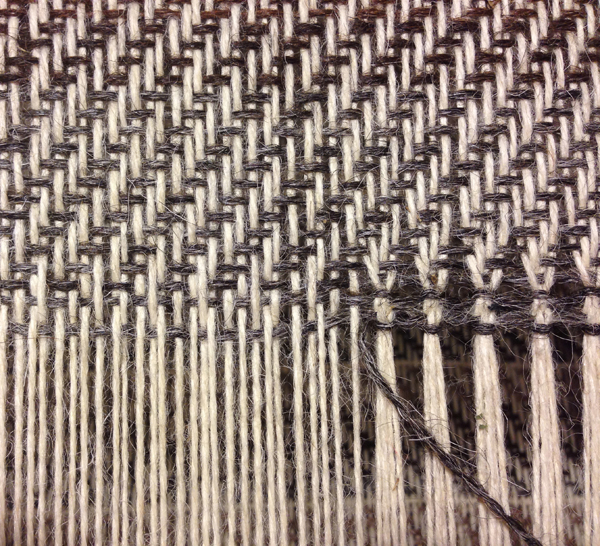
Before you start you want to figure out what kind of shape you would like the final "knot" to have. Each portion of the "knots" are made up of the warp threads that are tightened together and the weft threads that are pulled closer. Depending on the sett of your yarn, four warp threads and four weft threads do not always make a square "knot". This is an easy enough stitch that if you don't like how it looks, you can unstitch it and try again.
When you weave your header, leave a tail of yarn that is three times the width of your warp. This tail is what you will be using to stitch the hemstitch with.
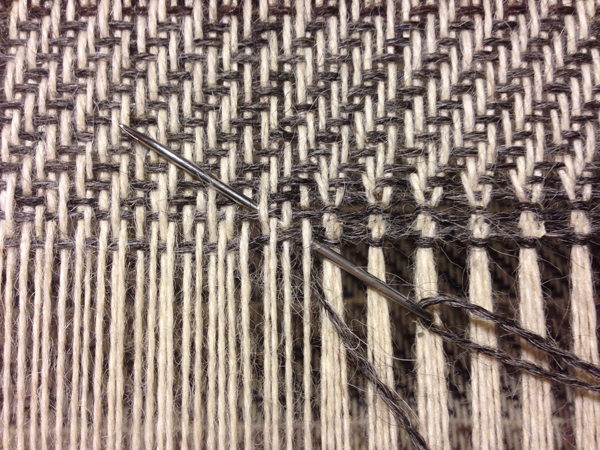
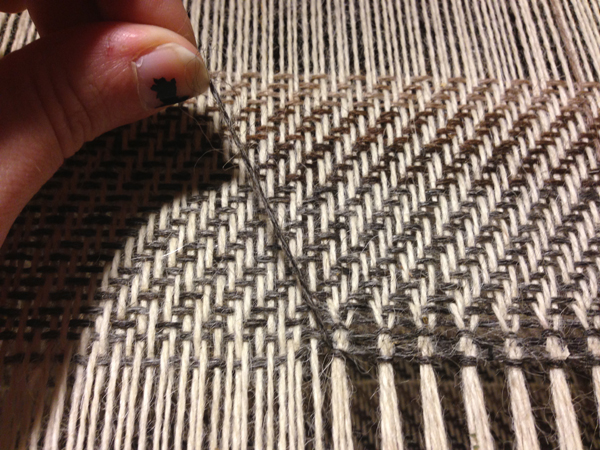
I like to think of this stitch as creating an X on the back of the fabric. So the first step is to take your threaded tapestry needle and go from the bottom right corner of your X to the upper left corner. You will take the needle under your warp and weft threads in the amount that you decided, and your needle should end up on the face of your fabric. In this particular weaving I went over four warp threads and up two weft threads.
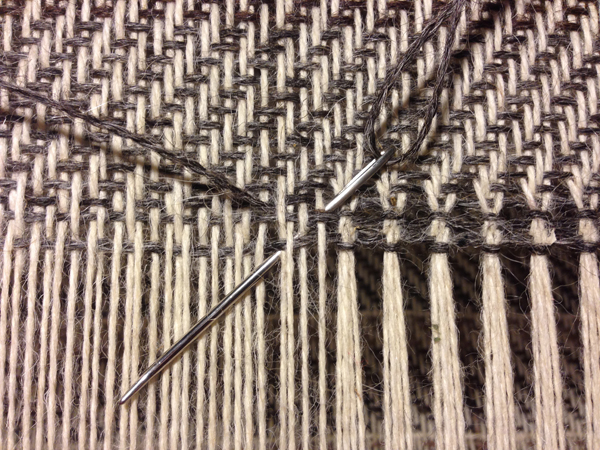
You will then make the second leg of your X. You will now go over the same warp threads that you just went under. The needle will go from the upper right corner to the bottom left. This thread will tighten/cinch the warp threads at the top of your "knot".
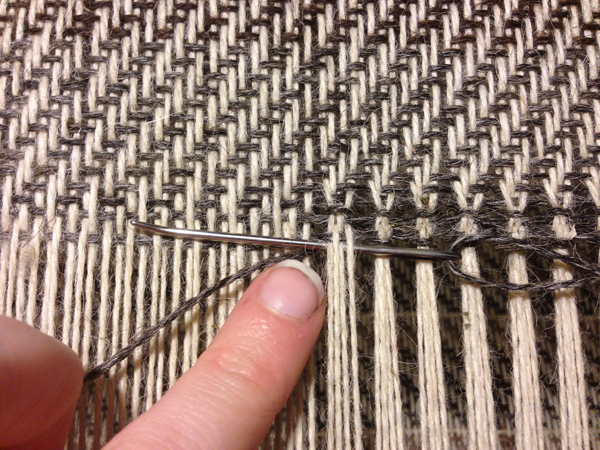
Then to put the end cap on your "knot"! The needle will now go under your warp threads from the right side and through the loop that you are creating on the left side. I also like to visualize that I am going over the remaining tail of the hemstitch thread.
I then tighten this loop and I have created a sturdy little "knot".
These are not actually knots, but it creates a lacy looking effect at the bottom of the fabric. One of my favorite variations of this is to have multiple rows of the hemstitch going up the fabric. This is a simple way of creating an elegant finish to your woven fabric.
Did you like this tutorial? Would you like to see more? Leave me a comment about what you would like to see a step by step tutorial of. And if I know how to do it, I will show it! And if I don't I will learn it for you!
Jessie
Jessie
Tegan Frisino
Catherine
Tegan Frisino
Jaime Alberto Malagon
Tegan Frisino
Susan
Laura