I love looking at photographs of textiles, especially when the colors are rich and saturated. When I can see the individual stitches or picks of the cloth I tend to fall into the imagery. The age of digital cameras and inexpensive photo editing software makes it incredibly easy to share your own work with the rest of the world.
Even if you are not confident with a camera, here are a few tips to help take baby steps in creating beautiful photographs of your weavings!
Photograph your work against a neutral, non-competing background
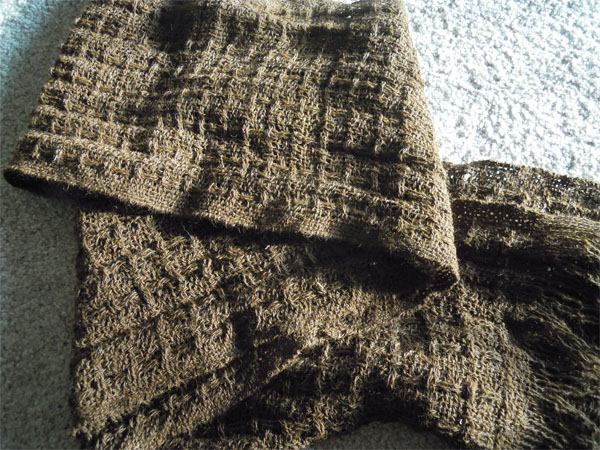
Why is this not a good photograph?
Yes, the carpet is a nice neutral color. But the texture of the carpet itself is competing with the delicate nature of the woven cloth. It is on the same level of visual texture so it is difficult to look at. I tend to like to photograph my weavings in a nice clean space with either a white or black background. This eliminates any visual discord from the background in relation to the weaving.
When taking a process shot, keep your area clear of clutter.
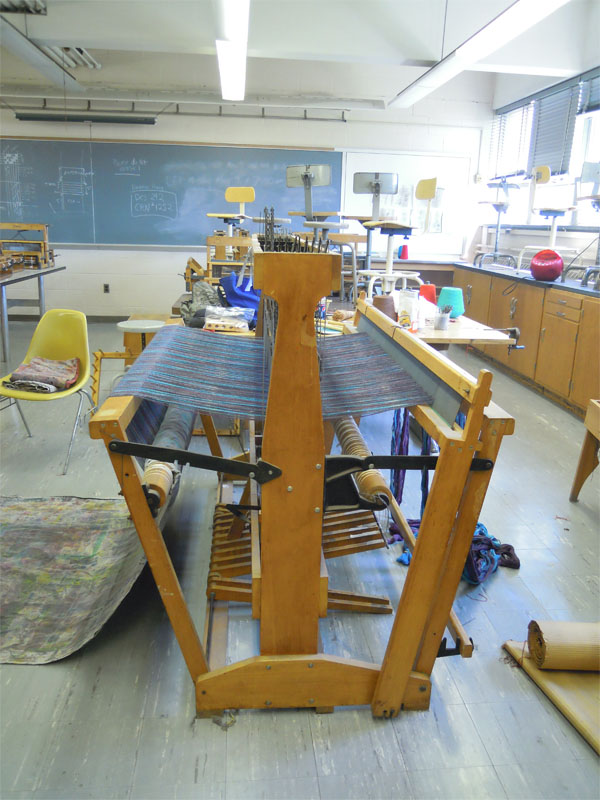
Sometimes it is difficult to avoid clutter. It is the nature of your studio space or it would literally take you an hour and a half to move everything out the way in order to get a nice clean documentation of your process. This photo was taken in the weaving studio at my college. I really just wanted to take a quick documenting photo of how I was winding this warp on the loom.
What I should have done, however, is to clear off the table next to this loom and clean up the floor a bit. They are just small details when detract from the overall focus of the picture.
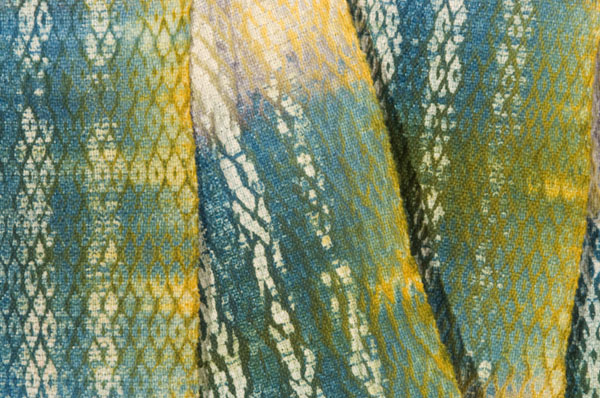
Arrange your weaving in a way that not only showcases the structure but also the drape of the fabric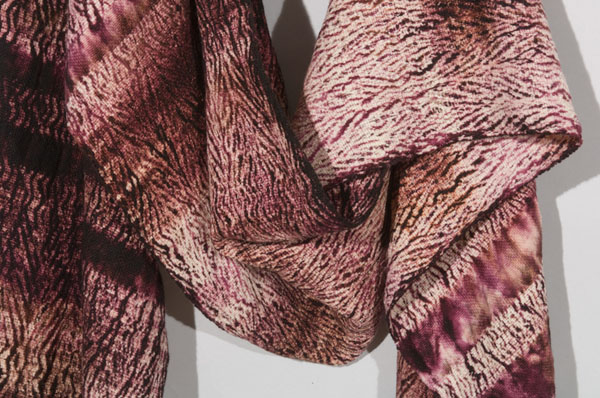
I did not take this photo. This was taken by the college photographer, Bruce Fox. I am showing this photo because it shows the suppleness of the fabric. It also shows a wonderful detail of the blending of the colors. I would possibly use an image like this when submitting to a show, in order to show the detailing in the fabric.
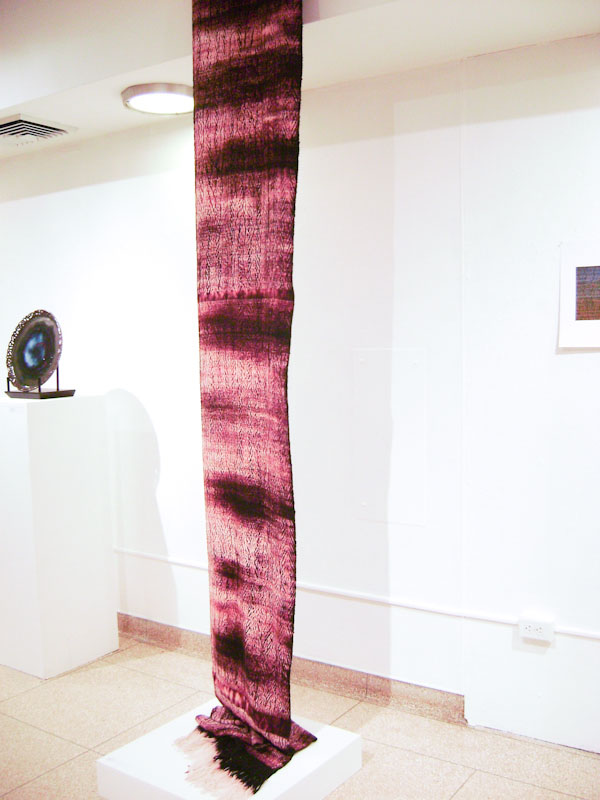
Now, compare the last photograph with this one. You can see the overall look of the fabric and a little bit about the drape at the bottom. But this is a very flat photo. It isn't very informative and also the colors are very washed out. It is a good documentation of how to display woven work though.
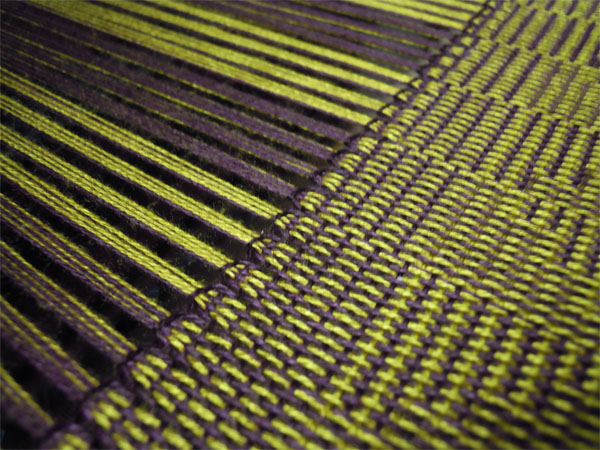
Get a clear straight forward shot of the details
This is a sharp clear image taken of the dying details in this fabric. This is also a strong image because you can see both sides of the work to get a clear understanding of how the cloth would look in a three dimensional space.
This image, though showcasing the color, is not an accurate representation of the cloth. You can't easily see the overall pattern and the colors are not entirely accurate. And it is difficult to see the quality of the fabric because there is such a small field of focus.
Those are just a few tips I have for getting good photographs of your work. As I photograph my work and learn more lessons I will gladly share with you what I know! What are some tricks or ideas that you have for taking great pictures of your work.
Until then, keep weaving and taking pictures to share with the world.
