My previous post I updated everyone on what I was accomplishing during my time of silence. I briefly touched on my latest project off of my new AVL loom. Today, I wanted to explain a little bit more in-depth in regards to the type of project that I made and why I decided on this particular project.

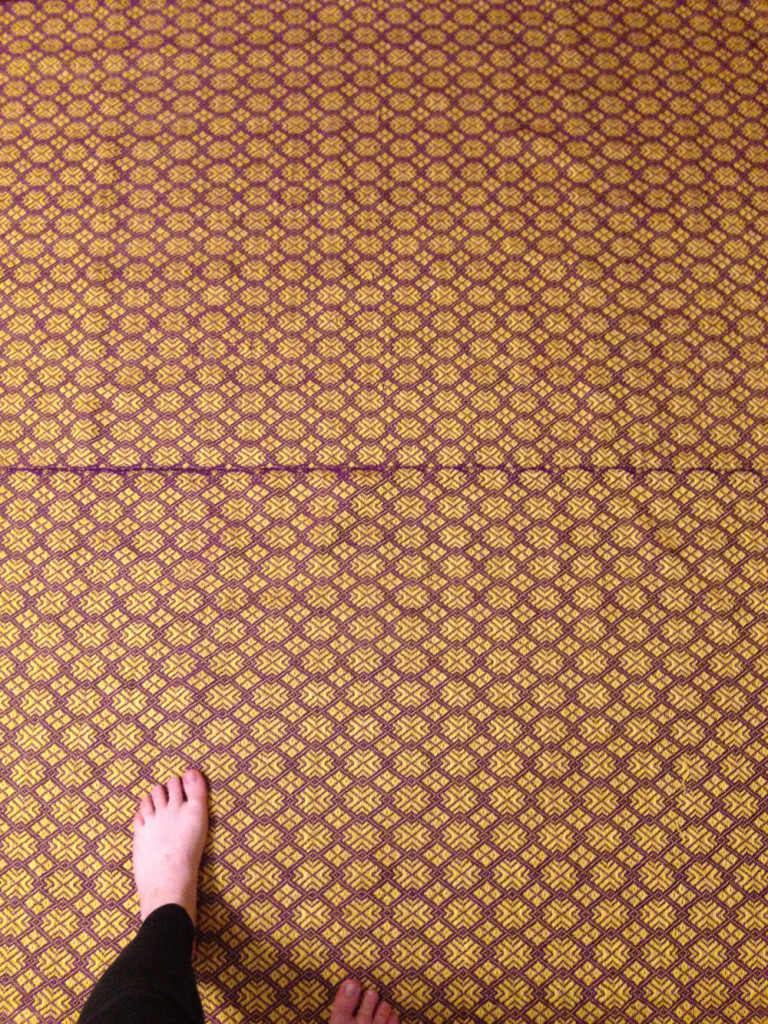
One of my primary products to weave are blankets. On my Kyra loom I was able to produce throw sized blankets (48" x 72") without having to create panels or utilize a double weave. I also primarily use wool as my fiber medium. Wool is expensive- and the width of my new loom has narrowed by a few inches. My weaving width is 45" down from 52".
I decided that I needed to learn how to weave a blanket that was beyond the throw size. I also needed to learn how to dress the loom with more than just a sample sized warp. So, my decision was to make a king-sized cotton blanket. The width would require me to learn how to seam together panels, and also how to finish a large piece. The cotton was for cost effectiveness.
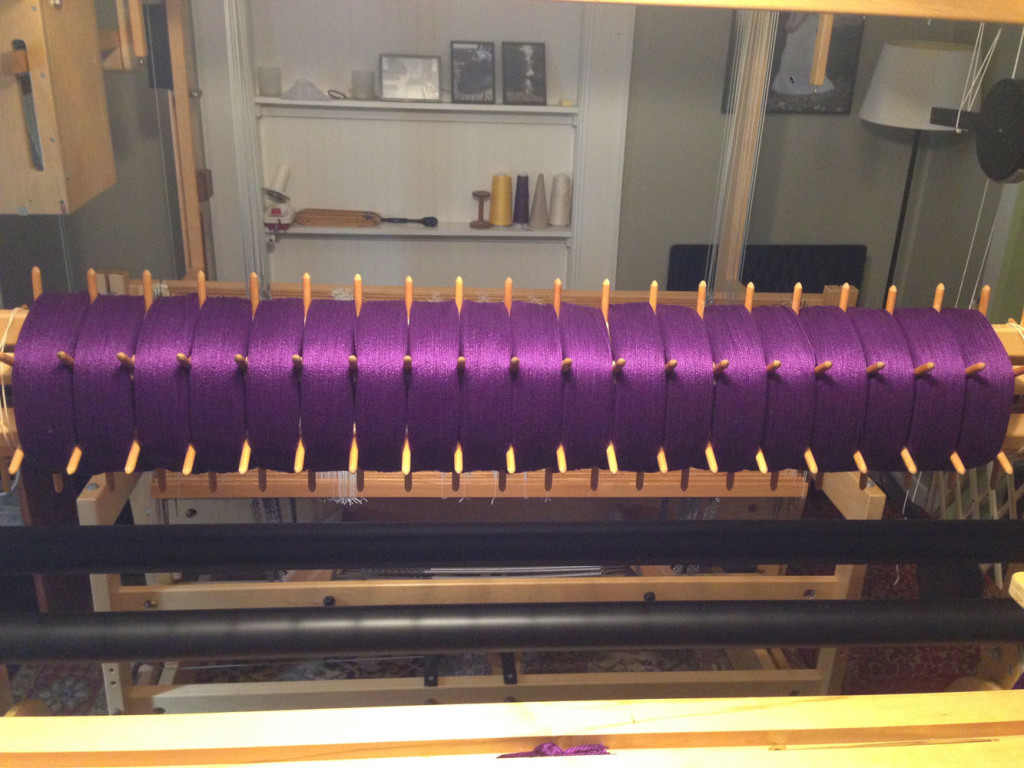
This project was challenging. I am not 100% comfortable using mercerized cotton. It is a little slippery to work with. And to learn how to use the sandpaper beam, it may have not been the wisest choice. But it was something that I needed to learn how to use for future endeavors. The process of calculating the math for sectional warping was also quite different then for warp the traditional way. It involved learning how my bobbin winder counts yardage, how the sectional beam winds on (and how much yardage it takes up per rotation), and how much waste I have to calculate for. To be completely candid- math is not my strongest skill. I often have to have Eric review my numbers to make sure that I have not missed something. The sectional warping challenges my basic math skills- as I was winding on the beam with the final project warp, I fell short because we both neglected to realize the amount of take up each rotation of the warp beam uses up.
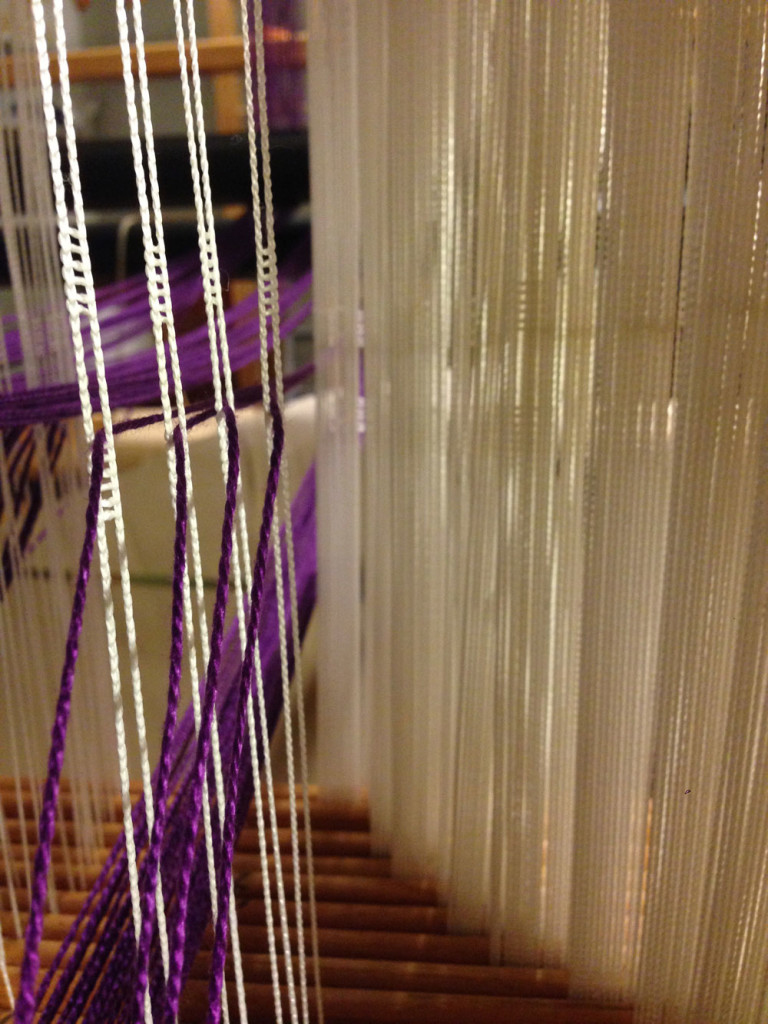
After working through the section process (which taught me how to adjust my math formulas and what key numbers I need to keep in mind while dressing the loom.) The threading and reed sleying process though simple at first, also arranged its own series of challenges. I had grown accustomed to my wire heddles and how to hold the warp threads in my fingers in order to bring them through the heddles in the front to back manner. On the AVL I am going from back to front. The heddles are now texslov- which for some crazy reason my eyes have a really hard time seeing (especially working through sixteen harnesses). I was over halfway through the width of the warp before I was able to get into a rhythm. Even though I was able to find my rhythm, my eyes were skipping the harnesses and once I pulled everything through the reed, I had twisted warps and missed sections of pattern. I spent more time fixing pattern mistakes then I did actually threading the heddles. What did I learn during this stage of the process? To wear my glasses and to take one section at a time until I am 100% comfortable with the amount of harnesses.
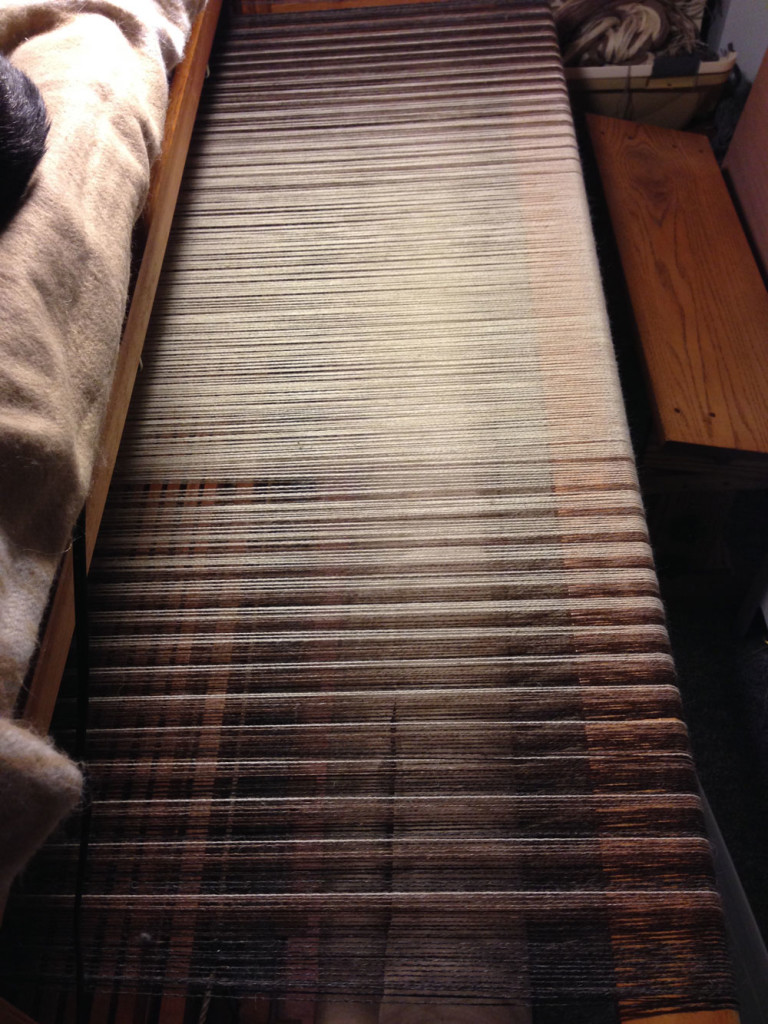
After struggling with the slippery cotton on the sandpaper beam- I was able to finally weave. This was one the most frustrating projects I have ever finished. Why did I do this large of project? I needed to learn how to weave the length. I needed to learn how to set up the loom and work through my issues. I did this project in order to pinpoint what small nuances to work on to make my final products 100% perfect. To focus on the parts of the weaving process that I struggle with.
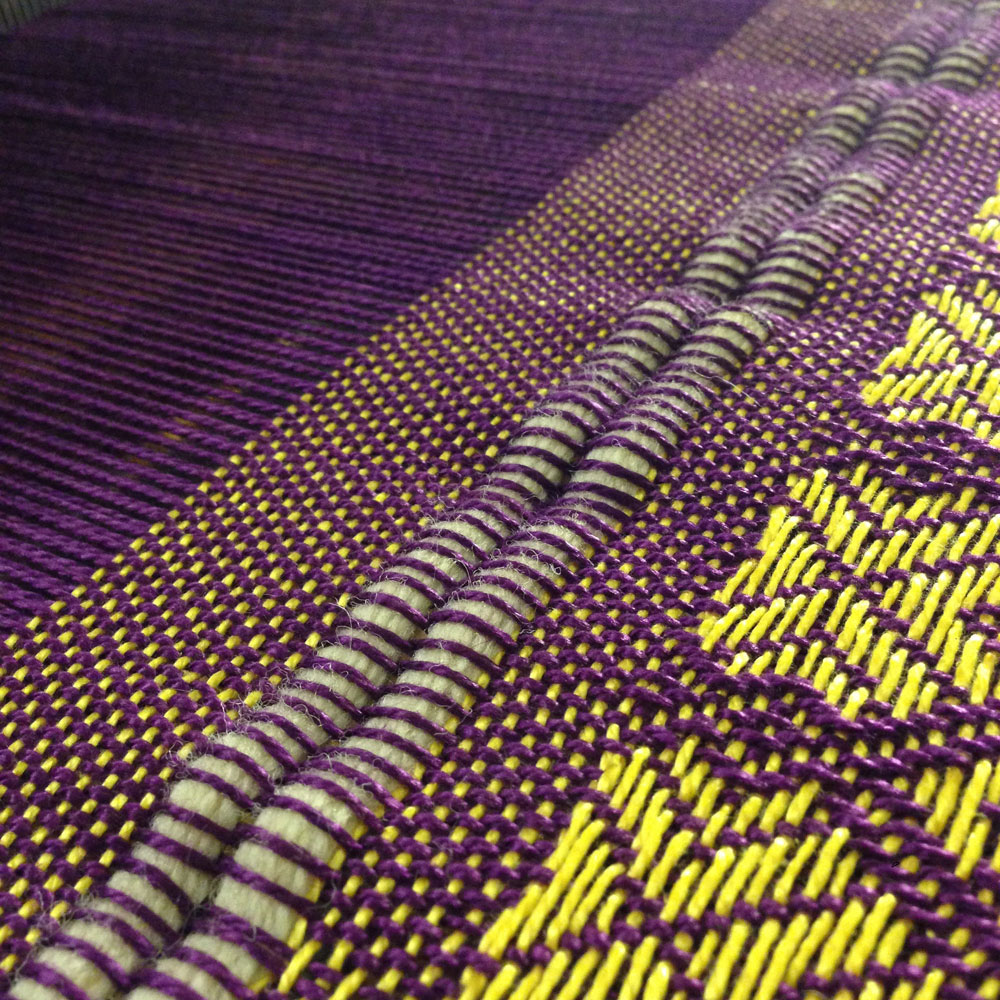
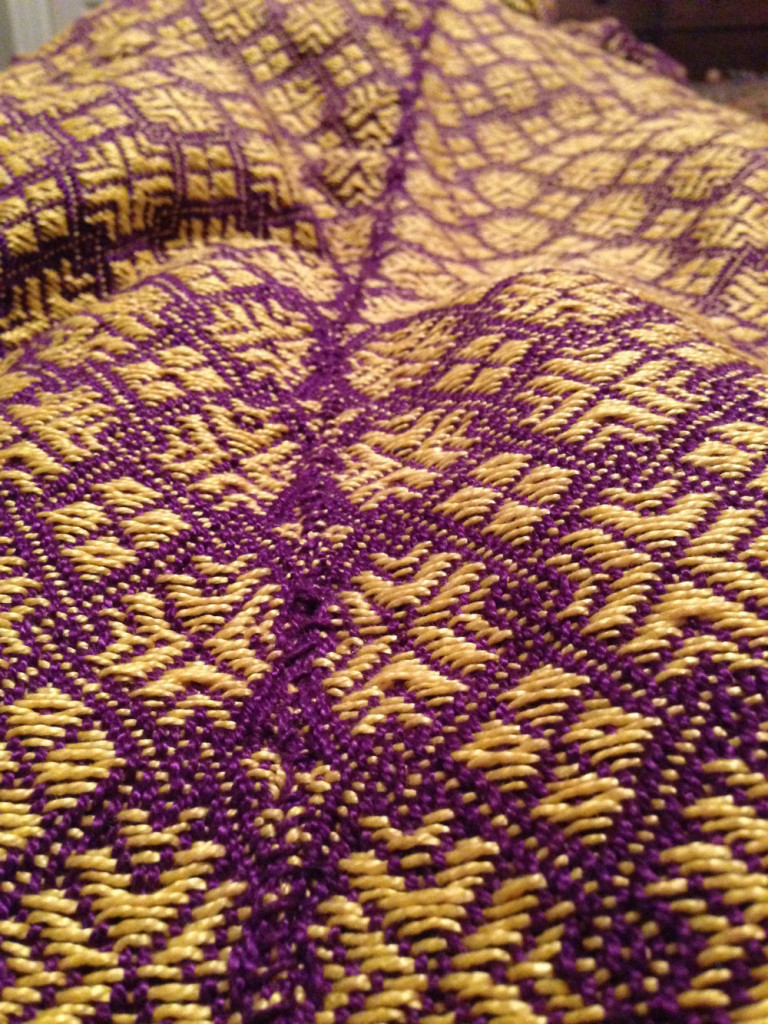
Once the project was all woven and off of the loom I had to prepare the yardage to sew the panels together. I cut apart the three panels and I used my sewing machine to run a straight stitch over each of the ends of each piece. Once everything was secured, I went down each side, pick by pick and did a whip stitch through the loop on each side. When I did this, I used the same weight yarn that I wove with as my stitching thread- in purple. In hindsight, I would have used a thinner weight thread in the yellow in order to hide the stitches because the purple yarn left a very distinct line down the panel join. Why did I choose to hand stitch these seams and not lap them and use the sewing machine? I wanted to have a seamless join that didn't have extra fabric involved. This is the first time I have ever sewn something together in this manner- so I learned a good lesson to use the dominant color to sew together panels because if you use the non-dominant color it will stand out.
Once the panels were sewn together it became evident that the panels were not all the same length, so I had to trim the uneven ends. Once they were trimmed, I hand-rolled the hem and basted it down to run through my sewing machine. I was in a little bit of a rush and used a black thread when sewing these ends A BIG NO-NO! I was very tired when I reached this point and wanted to have everything sewn, so I just went for it with what was in the sewing machine. It was a mistake, but this blanket is going on my bed and I have properly learned my lesson to just take my time- and if I don't have the proper material to wait until I can get it before I finish.
The final step will be to wash this in the washing machine to really bring it all together. All the seams are pressed, so I'm waiting for my washing machine to get hooked up before I can wash it properly. I am very excited to get it all 100% percent completed and have it on my bed. It is very heavy with the 5/2 cotton- it will feel really nice during the fall to have the comforting layer on top of our regular bedding. I also have made a little bit of extra yardage so that I can make pillow shams that if I am show the house, the bed looks put together and coordinated (which on a personal, I don't normally do. I like an eclectic bedroom set, but this will be a nice update!) Once it is all washed I will post an update about how this washing process was done and the final finishing before going on my bed.
Have you designed yourself a project that was challenge for you to learn the ins and outs of your loom? Did you learn your loom through many projects, or did you hit the ground running with one big project? Let me know in the comments below!