I just finished another warp of blankets from my loom. As I was looking to what I had left, I had quite a bit of loom waste left over. I decided it was time to try a new technique to preserve the threading of the heddles and the sleying of the reed but still wind on a new warp.
I tied on the new warp to the old warp- thread by thread.
This may seem crazy- but this way I can weave the full length of the older warp and not have to crouch down behind the loom to get at the heddles all over again.
This is what I did:
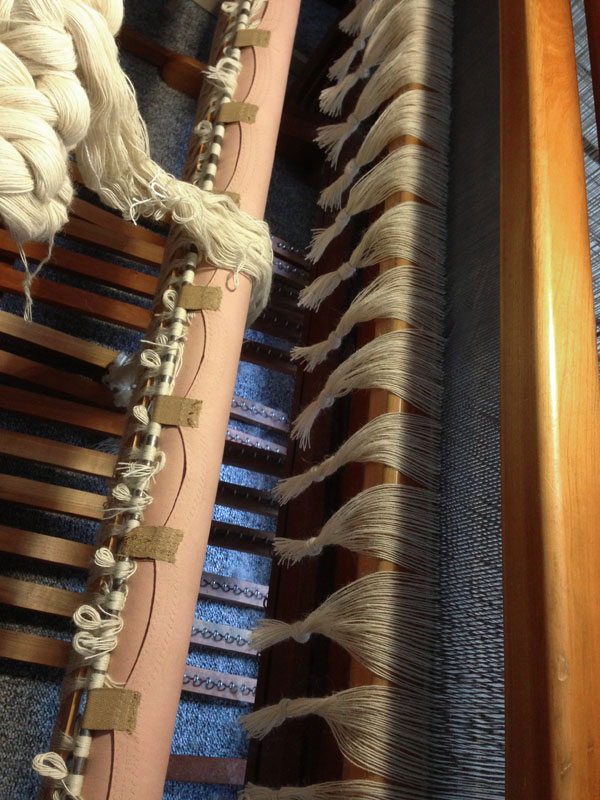
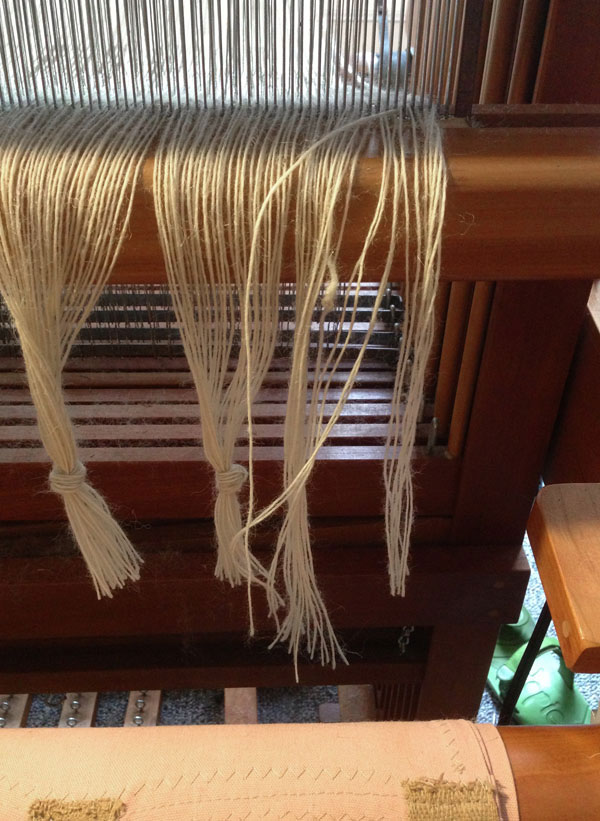
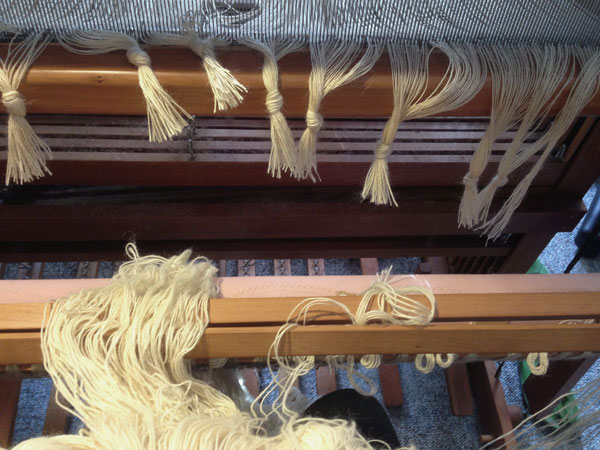
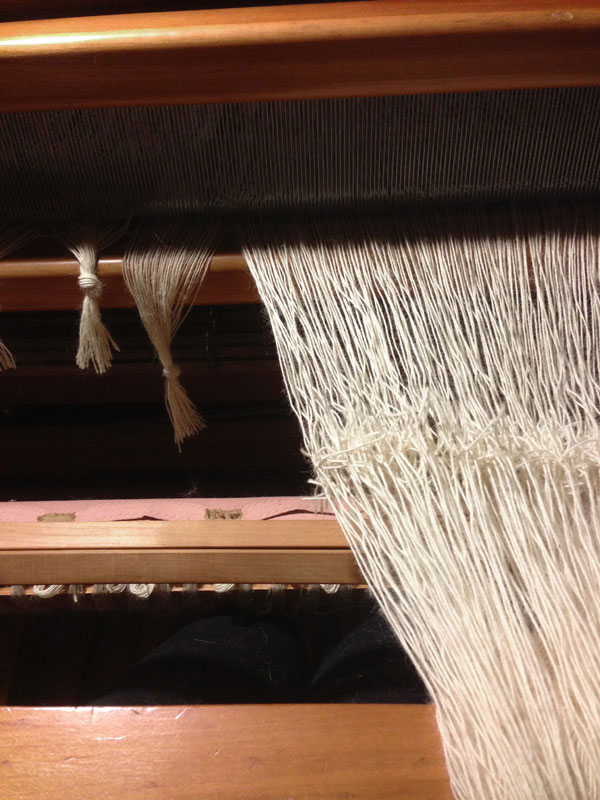
The blankets were cut off and the old warp threads were bundled into groups to prevent from slipping back through the reed.The bundles help to work in smaller batches then looking at all 744 ends at once.The new warp is held in place with two lease sticks. Maintaining the cross and freeing up my hands to tie the knots.
The blankets were cut off and the old warp threads were bundled into groups to prevent from slipping back through the reed.
The bundles help to work in smaller batches then looking at all 744 ends at once.
The new warp is held in place with two lease sticks. Maintaining the cross and freeing up my hands to tie the knots.
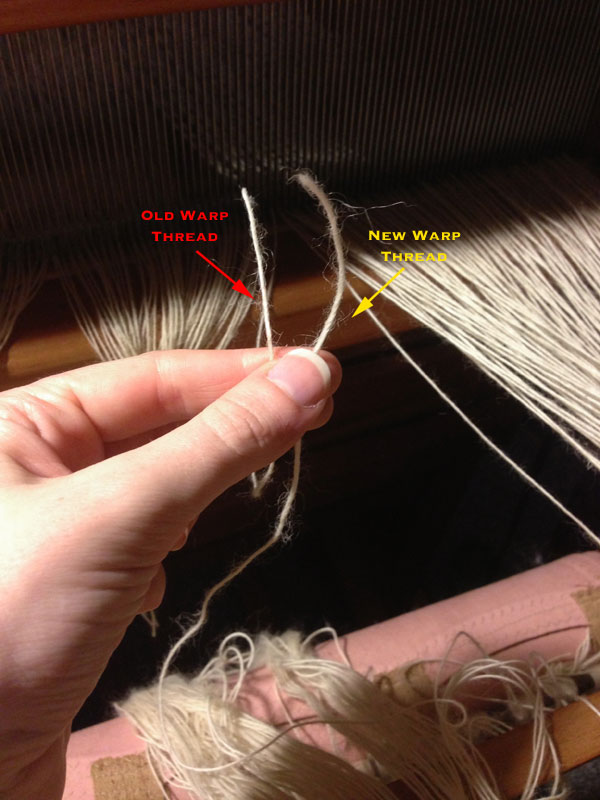
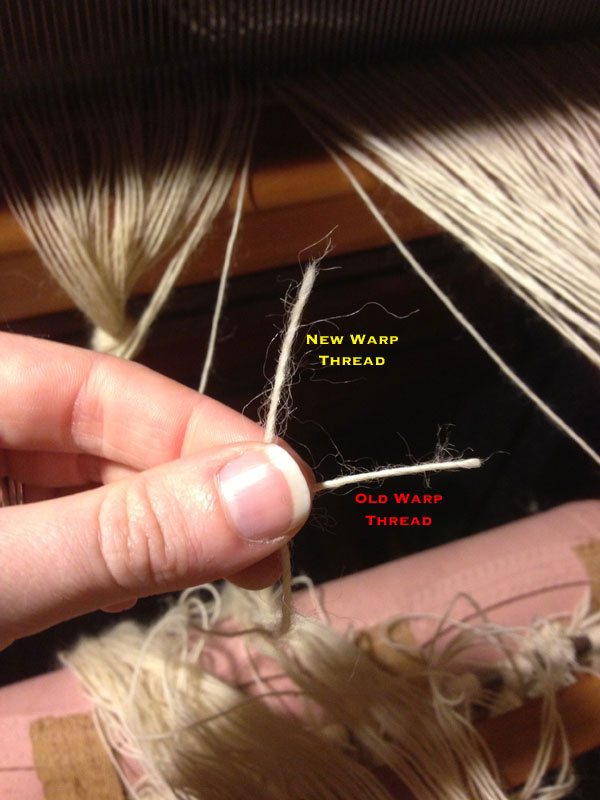
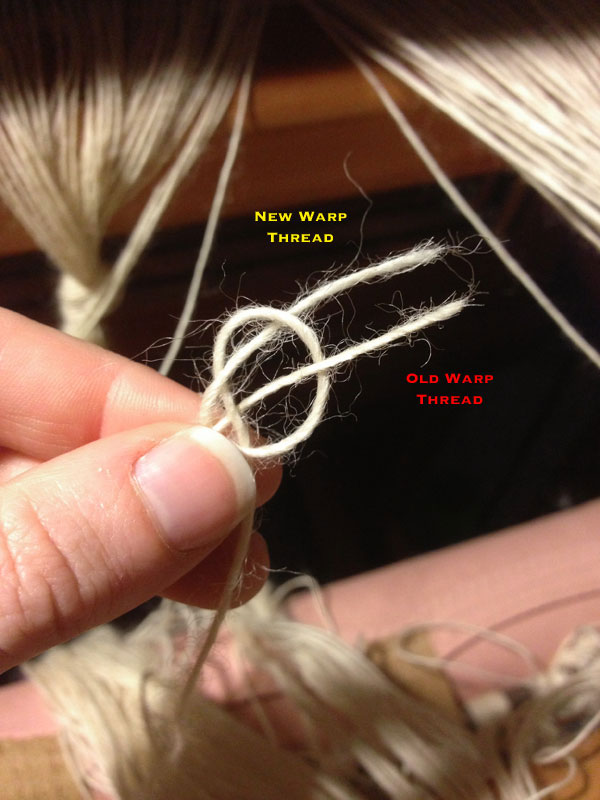
Step 1: Here are the two threads I will be tying together! The new warp will be marked in yellow and the old warp marked in red.Step 2: The new warp thread is placed vertically behind the old warp thread creating a perpendicular intersection.Step 3: I then wrap the new warp thread in this order: under the old warp thread, over the tip of my thumb, under the new warp thread and over the old warp thread.
This is difficult to describe. Basically you are going to take the new warp thread and wrap it around your thumb, and you are going to end up with the warp thread resting in between the two ends you have pinched in your fingers.
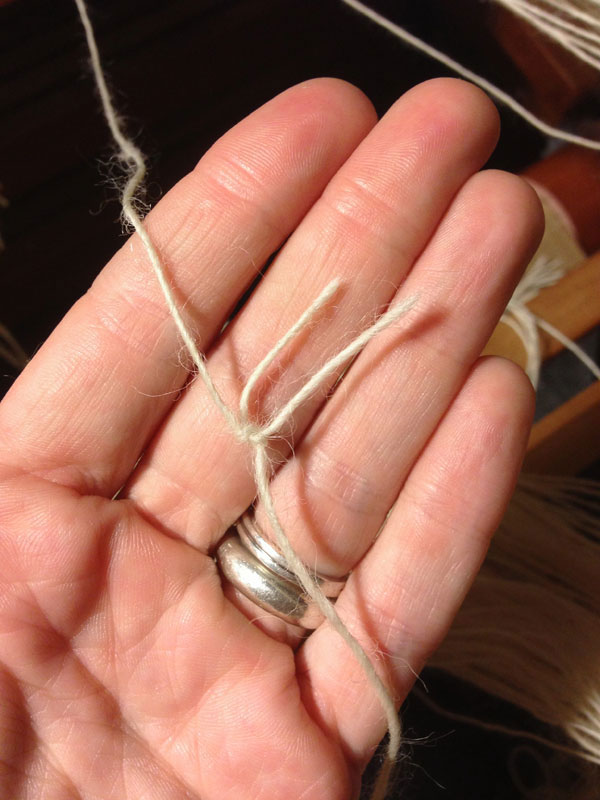
Step 4: I slide the loop I've created over the tip of my thumb and pull the old warp thread through the loop.Step 5: I then pull on the new warp thread so that the loop tightens around the old warp thread. I then pull on both long ends to fully tighten the knot.
And TA-DA you have a beautiful little knot that is tight secure and easy to do. Once I have finished tying on the rest of the warp, I will post the images of winding the new warp on to the loom.
Remember: that the best way to learn something new is to do it over and over and over again.
About 215 ends in the tying of a new warp to the old warp. Practice makes perfect!
Questions & Comments
Dru Marks
Love this! I've thought about warping my new loom with a fake warp so that I don't have to deal with redoing the heddles every time while I'm doing a small production run. What would you suggest I use? Linen? Cotton?
Thanks for all the time you put into your blog and the tips and tricks that you share.
Call me a big fan,
Dru
Tegan Frisino
I am also a big fan of the weaver's knot! Definitely do not use linen. Linen is one of those materials that wears really well as a woven article, but if you are going to repeatedly put stress on i it tends to become very brittle and break. That would be so frustrating! A fine cotton (depending on what you are weaving, I would use 10/2) would be excellent. It can handle being tied, untied and retied again.
That being said- if you are using wool in your small production runs I would use a sturdy but fine rug wool warp. The fibers of the wool will help hold the ends together creating a sturdier knot. It is a little tricky to undo at the end, but it is worth the time to have a little extra something on your side.
I am glad you are a fan! I love the purple ombre scarf you have woven (I took a visit to your website) it is lovely!
Let me know how it goes!
-Tegan
Dru Marks
Tegan,
Thanks for the tip. I am working on setting up a new loom and I will definately use this trick. I've been working on an 32" Ashford Rigid Heddle loom and I'm now the proud owner of a 22" 8 Harness Mountain Loom Transportable Floor Loom. Ready and willing to dive into a bunch of new techniques. The Italian Hem Stitch is going to be another one of your tricks I start using too....hate tying knots. LOL
Thanks for visiting my ADD blog. Looking forward to more great posts from you.
Dru

Dru Marks
Tegan Frisino
Dru Marks