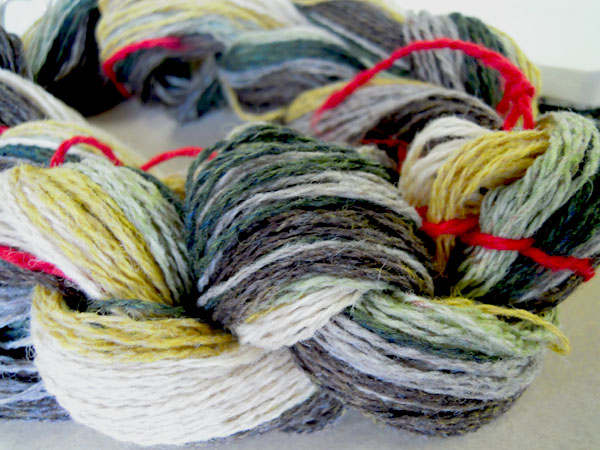
So you have finally found a weaving draft that you love. You can see it in your house are wrapped around your neck and you are so excited to get started working on it!
But how much warp do you need? How much yarn do you need order in order to make the warp and have enough for weft? How do you figure out the sett? There are so many things to think about and it can be very frustrating.
Here is part one in planning your project; figuring out your warp needs. Your warp is the foundation to your weaving. It is what the loom manipulates in order to create your pattern.
When planning your warp, you must keep in mind some certain details:
- Can the warp thread withstand abrasion? The warp is going to kept under tension and the reed will be rubbing up against the thread constantly. Take a few inches of your intended warp thread and hold it taut in between your hands. Then take your thumbnail and scratch at the thread. Does the yarn look like it is unraveling or does it just get a little fuzzy? If your yarn seems to fall apart in your hands, it may not be suitable to use as warp. You will just get frustrated and have a fluffy mess in your loom.
- How much will the warp shrink when washed? Some yarns will hardly shrink at all, others could shrink up to 50% of their length when subjected to water. I usually take 10 inches of yarn and then wash it as I would with the finished weaving. Some weavings you may want to wash vigorously to full the fabric up, others you just want to let soak and let the yarn naturally bloom because it is delicate. After the yarn has been dried measure it again. This can show how much the warp will shrink up in length.
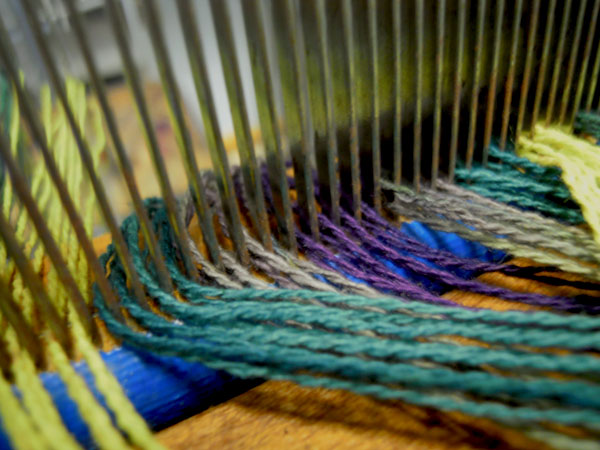
- What is your sett? This sets the very groundwork for planning the rest of your project. Your sett, or ends per inch, will dictate how the finished cloth will be. Manufacturers who work with weaving yarns often give an estimated e.p.i. for a given yarn and it is typically a range. For example, Harrisville’s Shetland yarn has an estimated epi of 12-15. The more open sett is geared for plain weave and the tighter sett for twills. But what if you don’t have that information in front of you? Take a ruler or a yarn wraps per inch tool. Wrap your yarn around the tool or ruler so that it takes up one inch. When you are wrapping keep a light tension on the yarn and make sure that each consecutive wrap is touching but not overlapping. And don’t push the yarn closer together to fit more in the inch. Once you have your number then divide it by 2. So if you wrapped 36 times around the tool, divide 36 by 2 and you have 18 ends per inch.
So now you have some more questions to ask yourself! Let’s say, you want to weave a scarf. How wide do you want your scarf to be? Do you like an extra long scarf, or a shorter one? Do you like longer fringe to play with, or do you want to keep the fringe short and out of the way? Here is a formula that can be found in many weaving books. I am just writing it out here so that you know exactly where all the information is coming from.
(this information is sourced from The Weaver’s Companion which is produced by Handwoven Magazine)
Length of project to be woven = (this is how long you want the finished project to be)
+ Fringe = (how long do you want your fringe at the ends of your project)
+ Take-up (10% of project length) = x*.10 (this will account for the take up of the weft)
+ Shrinkage = (this is the number you get when you test wash your chosen yarn)
+ Loom Waste = (this varies on the type of loom you have. You can measure this by putting your beater against the castle of the loom and measuring from the beater to the back beam)
= Total warp length!
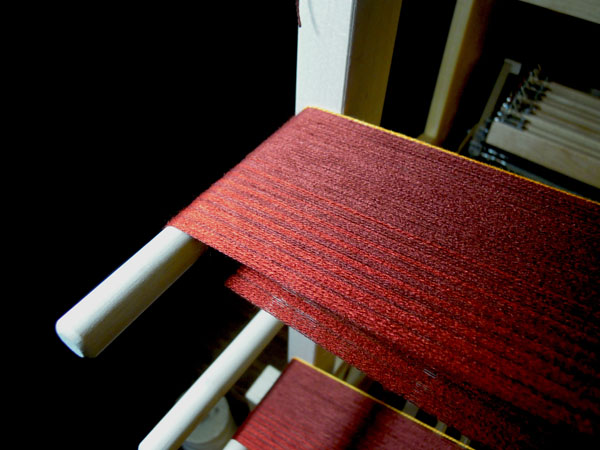
This is the length that you are going to put on your warping board.
Now to figure out the width:
Width of finished piece = (how wide would you like your finished piece to be?)
+ Shrinkage = (same concept as the shrinkage in the length of the warp, only now you have to determine the amount of shrinkage in your weft)
+ Draw-In = (this is how much your weaving will draw in as your weft is being laid in. It can be any where from 1” to 2”. If it is more than 2 inches you may encounter issues with your warp threads breaking.)
= Total width needed on the loom (this is not your final width #, this is the # you need to plan how many ends of warp you need to fill that final width space.)
Total width on the loom * number of ends per inch = (remember when you did your yarn wrap? The number you came up with for that instance is what you will use to multiply with the total width on the loom measurement)
= Total warp ends needed
So how much yarn do you need all together to make your warp?
Total warp ends needed * Total Warp Length = (this total will be your warp needs in inches.)
Total warp needed in inches / 36 = (36 is how many inches are in a yard. Many yarn companies measure their product by yards per pound.)
= Total warp needed in yards! (This is your grand number!)
It seems complicated but all these steps are important to planning your warp. Because once you start weaving you want the process to be as easy as possible. You don’t want to suddenly run out of warp right when you need 10 more inches. And you don’t want the sett to be too close or else you will have a very difficult time creating a good shed. Next post I will discuss how to figure out your weft needs.
BB Smith
Tegan Frisino
JANET BRYANT
Tegan Frisino